MakeZurich 2018 Badge
You received your MakeZurich vol. II participants badge and want to know more about it?
For now, documentation is pretty rare as we worked day and night to get you the badge assembled and the firmware up and running just in time. You can tell the orga team is running a JIT compiler as the night before the hackathon, the badges where finished with assembly and the firmware got flashed.
Main functionality
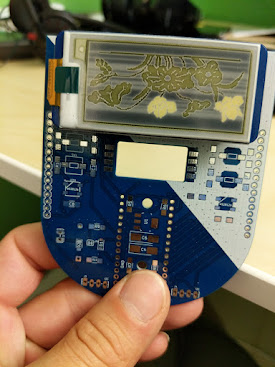
As a badge should do what a badge needs to do, it will display your name in the first place. And don’t worry if you run out of battery, as we used a E-Paper display, the last screen will stay and that means you could connect a serial programmer or just 3.3V to it, wait until its on the name view and then just cut the power and we will still see who you are.
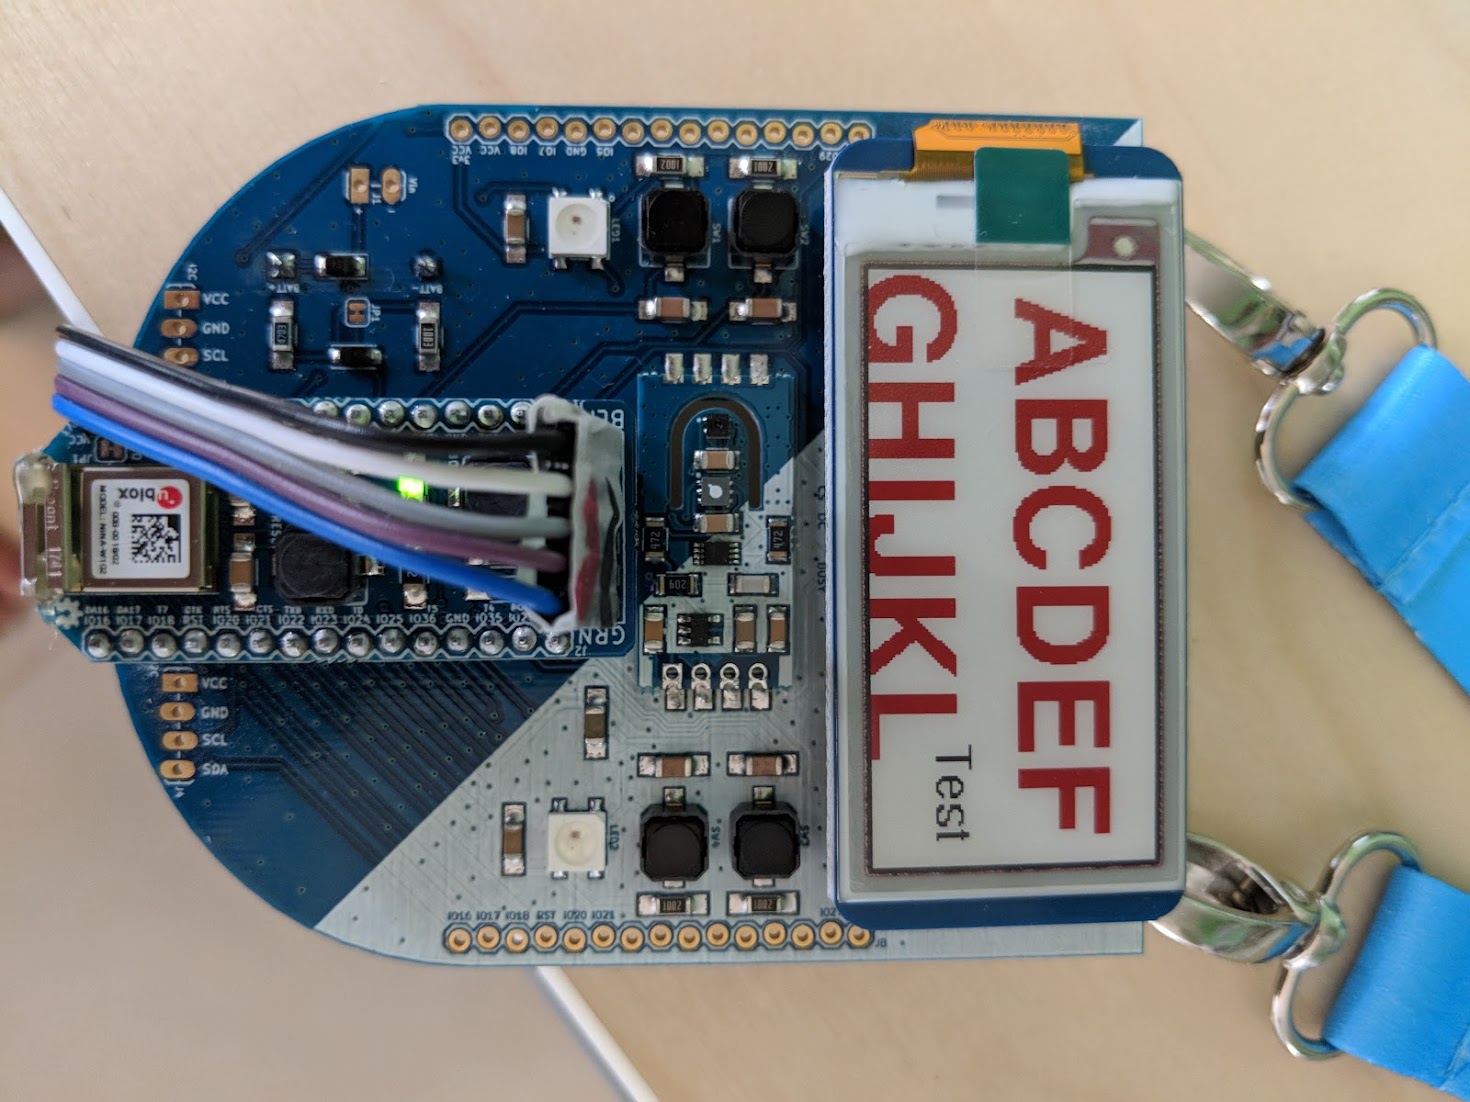
Name view
This is the standard view which gets loaded once your Name has been registered and it did connect to the Kraftwerk wifi to fetch the details from the server.
QR Initialisation view
![]()
Whenever you go to that view, it will startup wifi, connect to Kraftwerk and fetch the name from the server and update it. If you want another name to be displayed, please speak to one of the organizers and they can set you a new name.
Sensor view
![]()
E.T. calling home
Yes we collect some data, specifically we send back the current sensor readings every 30 minutes to our server for an experiment. If you want to know what data is exactly sent, connect a serial programmer (you can get one from an organizer if you don’t have one) and see the output. Payload is being dumped as well as the responses.
AT commands
You got your badge with firmware v.1.0.0 which does not have those commands as they got introduced in v.1.0.1 Download this zip file, unpack it and take a look at the README which gives you the command you can use with the esptool to flash it.
Open Serial Monitor, change to Both LN & CR and 115200 baud
Now you just have to write the commands and see how it works. It’s very simple.
- Type
ATif will be returnOK
AT command list
| AT command | Description | return |
|---|---|---|
AT |
Check status comunication. | OK |
AT+RESET |
Restart Arduino. | OK |
AT+CCLK |
Get time in milliseconds after Arduino start. | value |
ATDOH+<PIN> |
Set pin to HIGH. | OK |
ATDOL+<PIN> |
Set pin to LOW. | OK |
ATDIN+<PIN> |
Read pin digital input. | value |
ATDIP+<PIN> |
Read pin digital input with internal pull up resistor. | value |
ATAI+<PIN> |
Read analog input. | value |
ATSNF+<TEXT> |
Set the first name to |
=> new first name saved in NVM |
ATSNL+<TEXT> |
Set the last name to |
=> new last name saved in NVM |
Examples:
ATDOH+13  //change status pin 13 to HIGH

ATDOL+13 //change status pin 13 to LOW

ATSNF+Hacker // Set the first name to Michel (whats displayed in red on the name view)
Your turn
You can hack that badge, you can use the NINA module in your own project as well as the EPD as they both are not soldered. The sensor module can be used as well, you only need to desolder it from the badge first if you want to use it standalone.
There are many more examples on github under the firmware/examples folder
Buttons
You have 4 buttons available, see buttonWithInterrupt.ino for an example on how to use them and which pins they are connected to. You can find also an additional examples on how they can be used with the TaskScheduler library that was used in the badge firmware as well in taskScheduler.ino.
E-Paper display
There are several examples on how to use the EPD, take a look at the GxEPD test example to see how to use it with the GxEPD library.
LEDs
You have 4 WS2812b addressable LEDs on the badge, just be aware that they suck power and it’s not recommended to use them without external power source. Find an example using the FastLED library in LED-Siren.ino.
Sensor module
I adapted the arduino library from sensirions github for the sensor module and you can see how to use it in the SGPC3 demo project.
I2C devices
You have 2 I2C buses on the NINA, if on the badge we used one for the sensor module and the other is exposed on the bottom with 2 headers. See i2c_scanner.ino for an example and you can directly use this sketch to scan both buses for devices once you connected something to it.
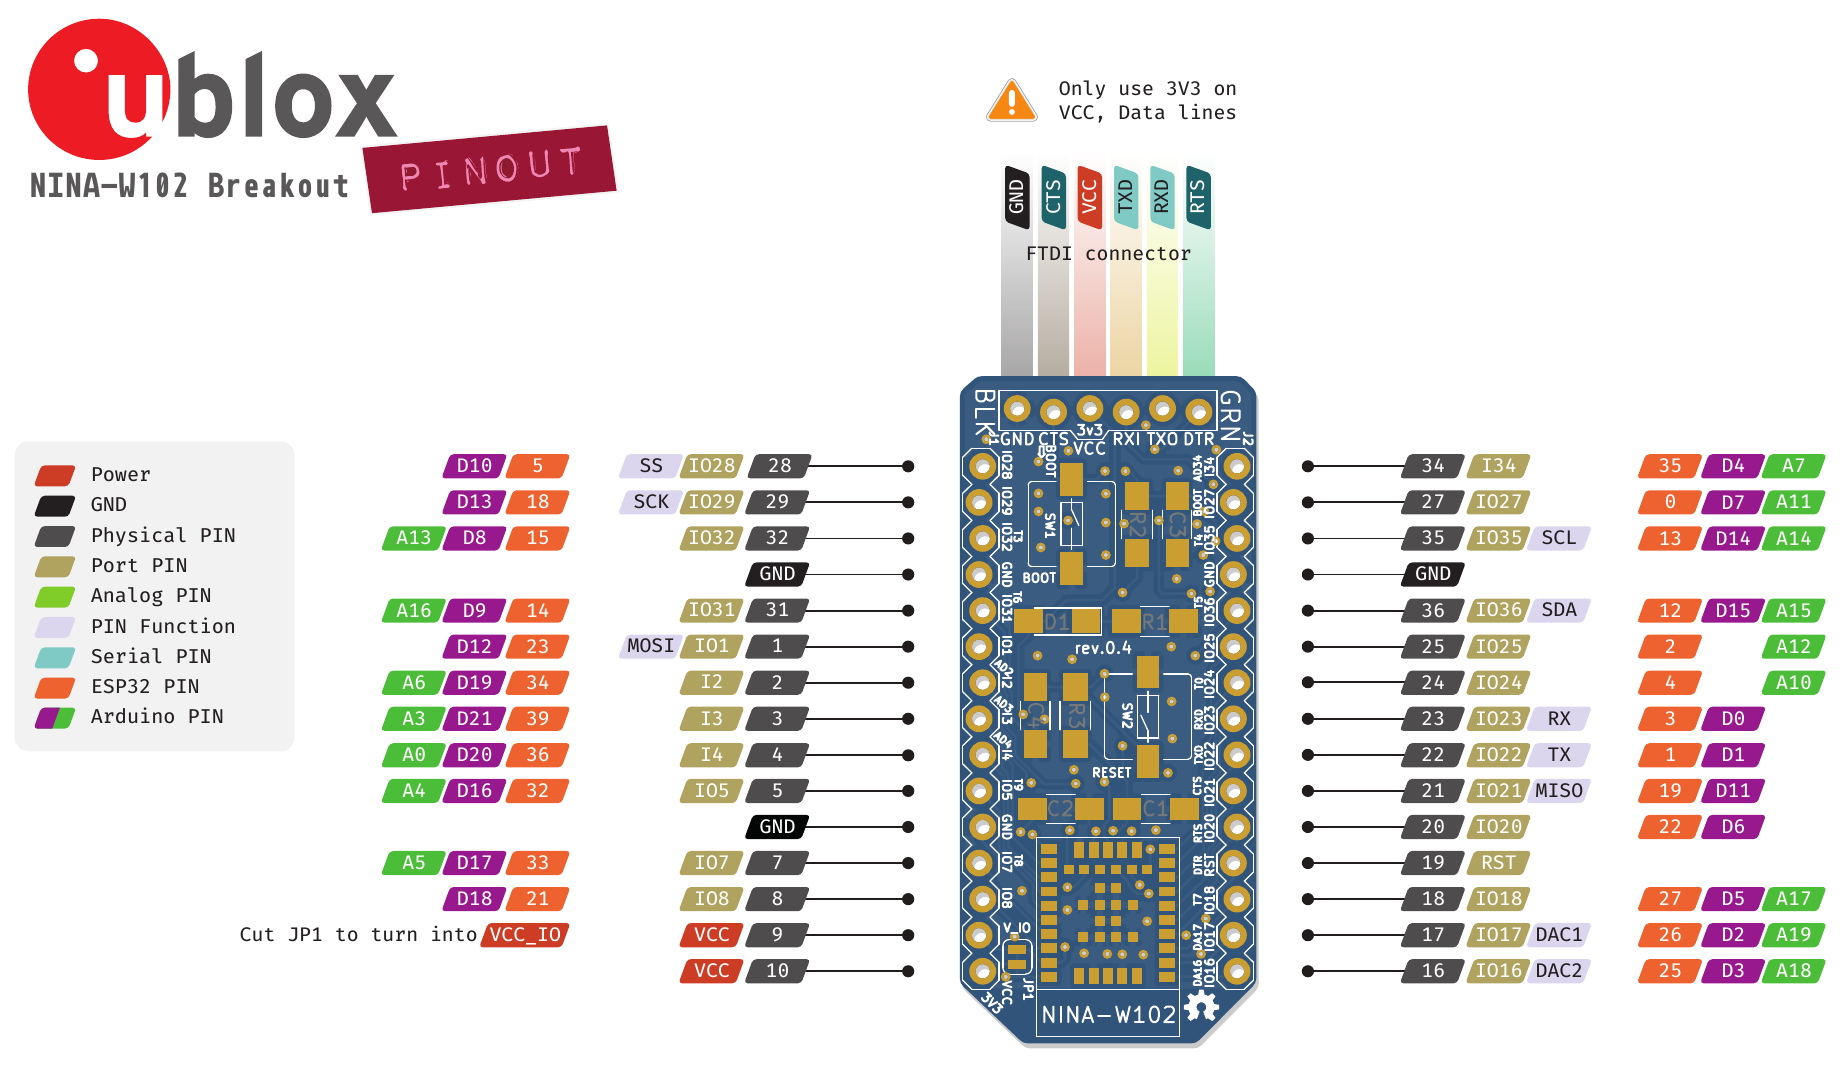
Pinout
The pins on the side are 1:1 mapped to the NINA-W102 minimal breakout and you can take this pinout for the badge as well.
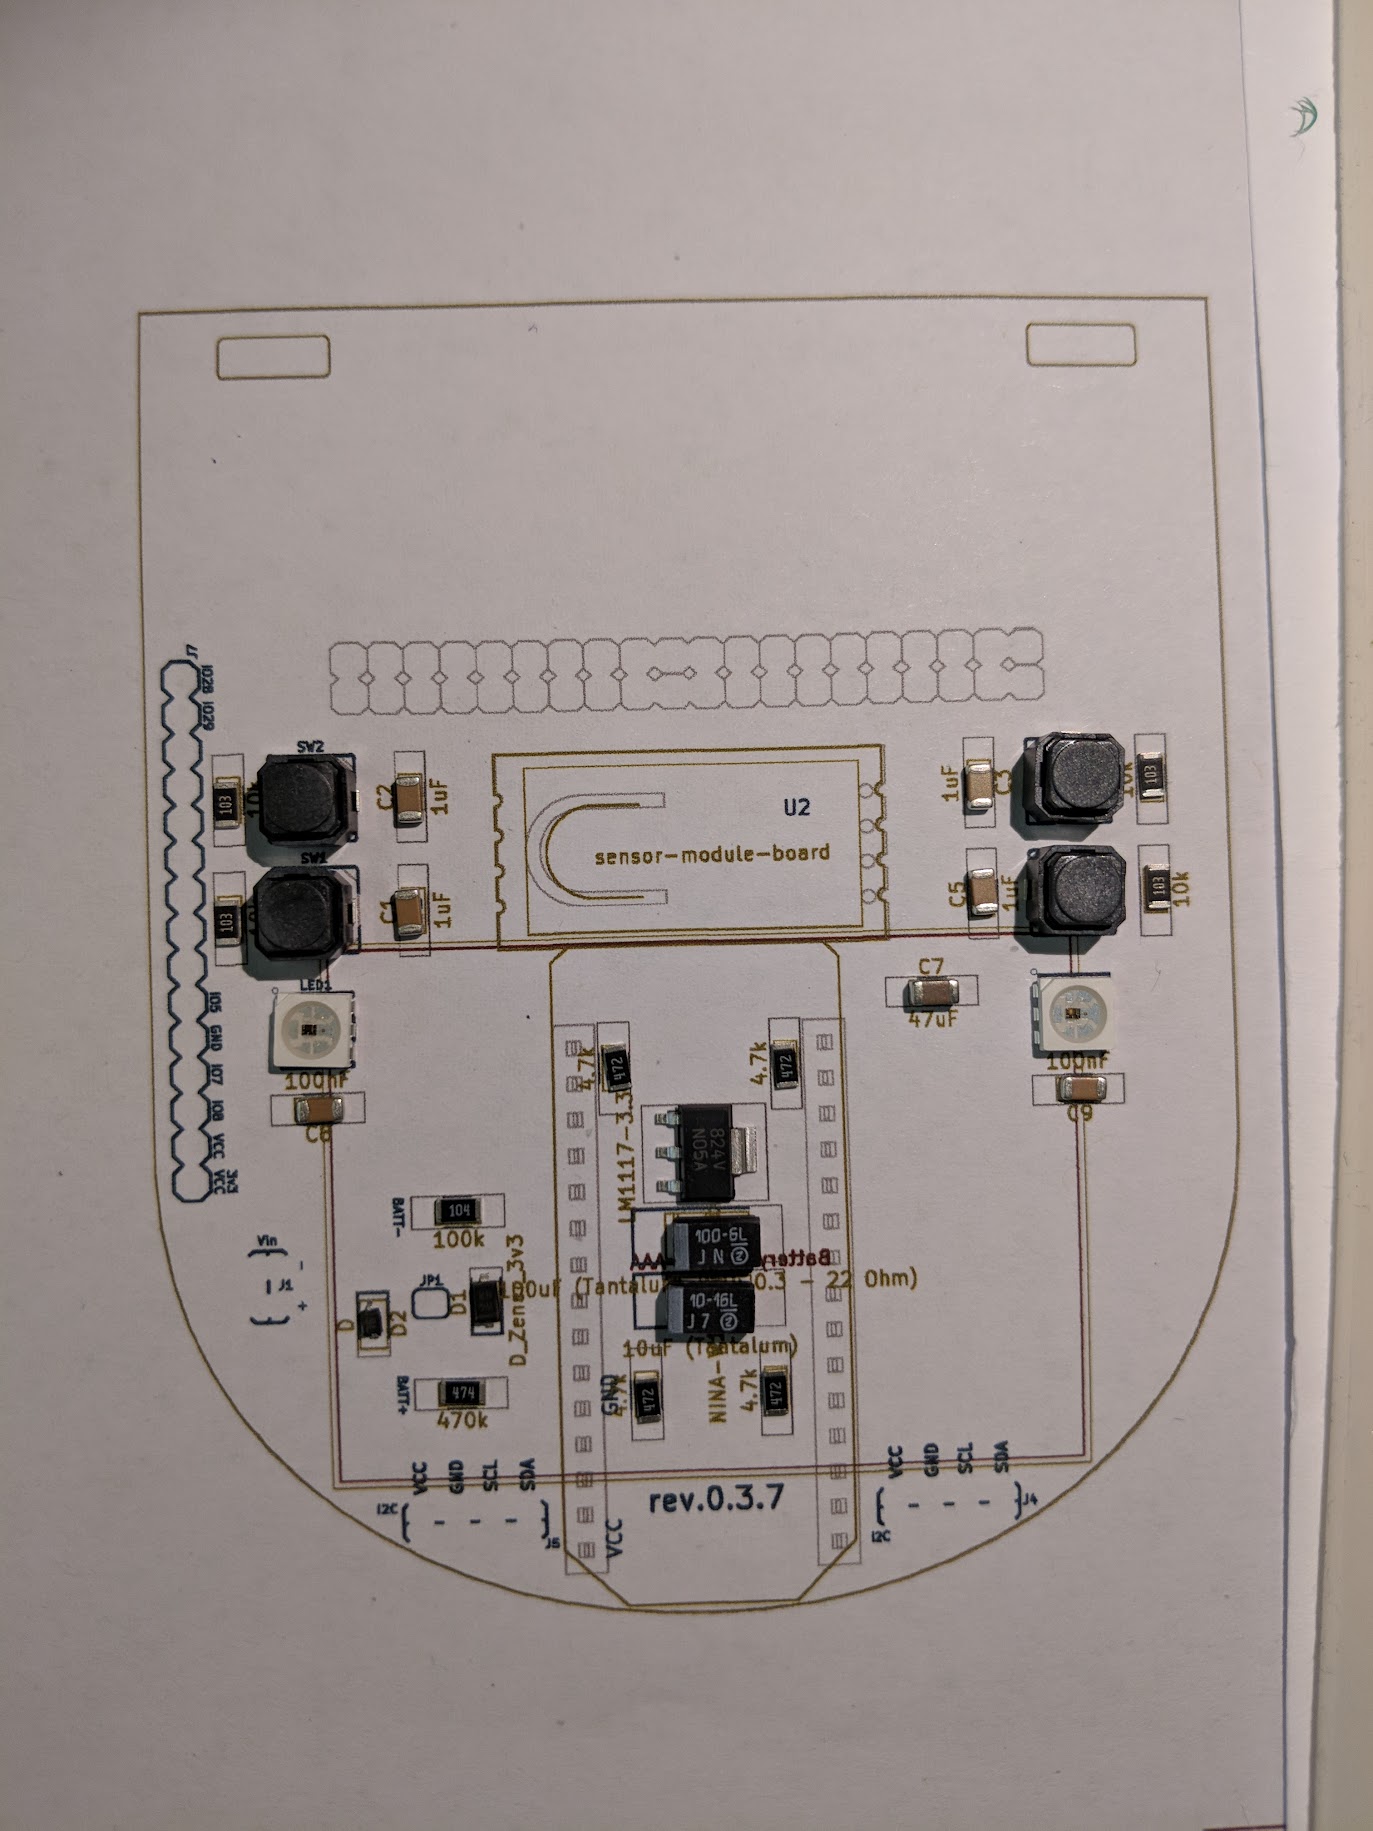
Schematics
See badge-mainboard-rev.0.3.7.pdf and sensors-module-board-rev.0.1.0.pdf for the corresponding schematics. Additional you want to look at the NINA-W102 minimal breakout for more information on the heart of this badge.
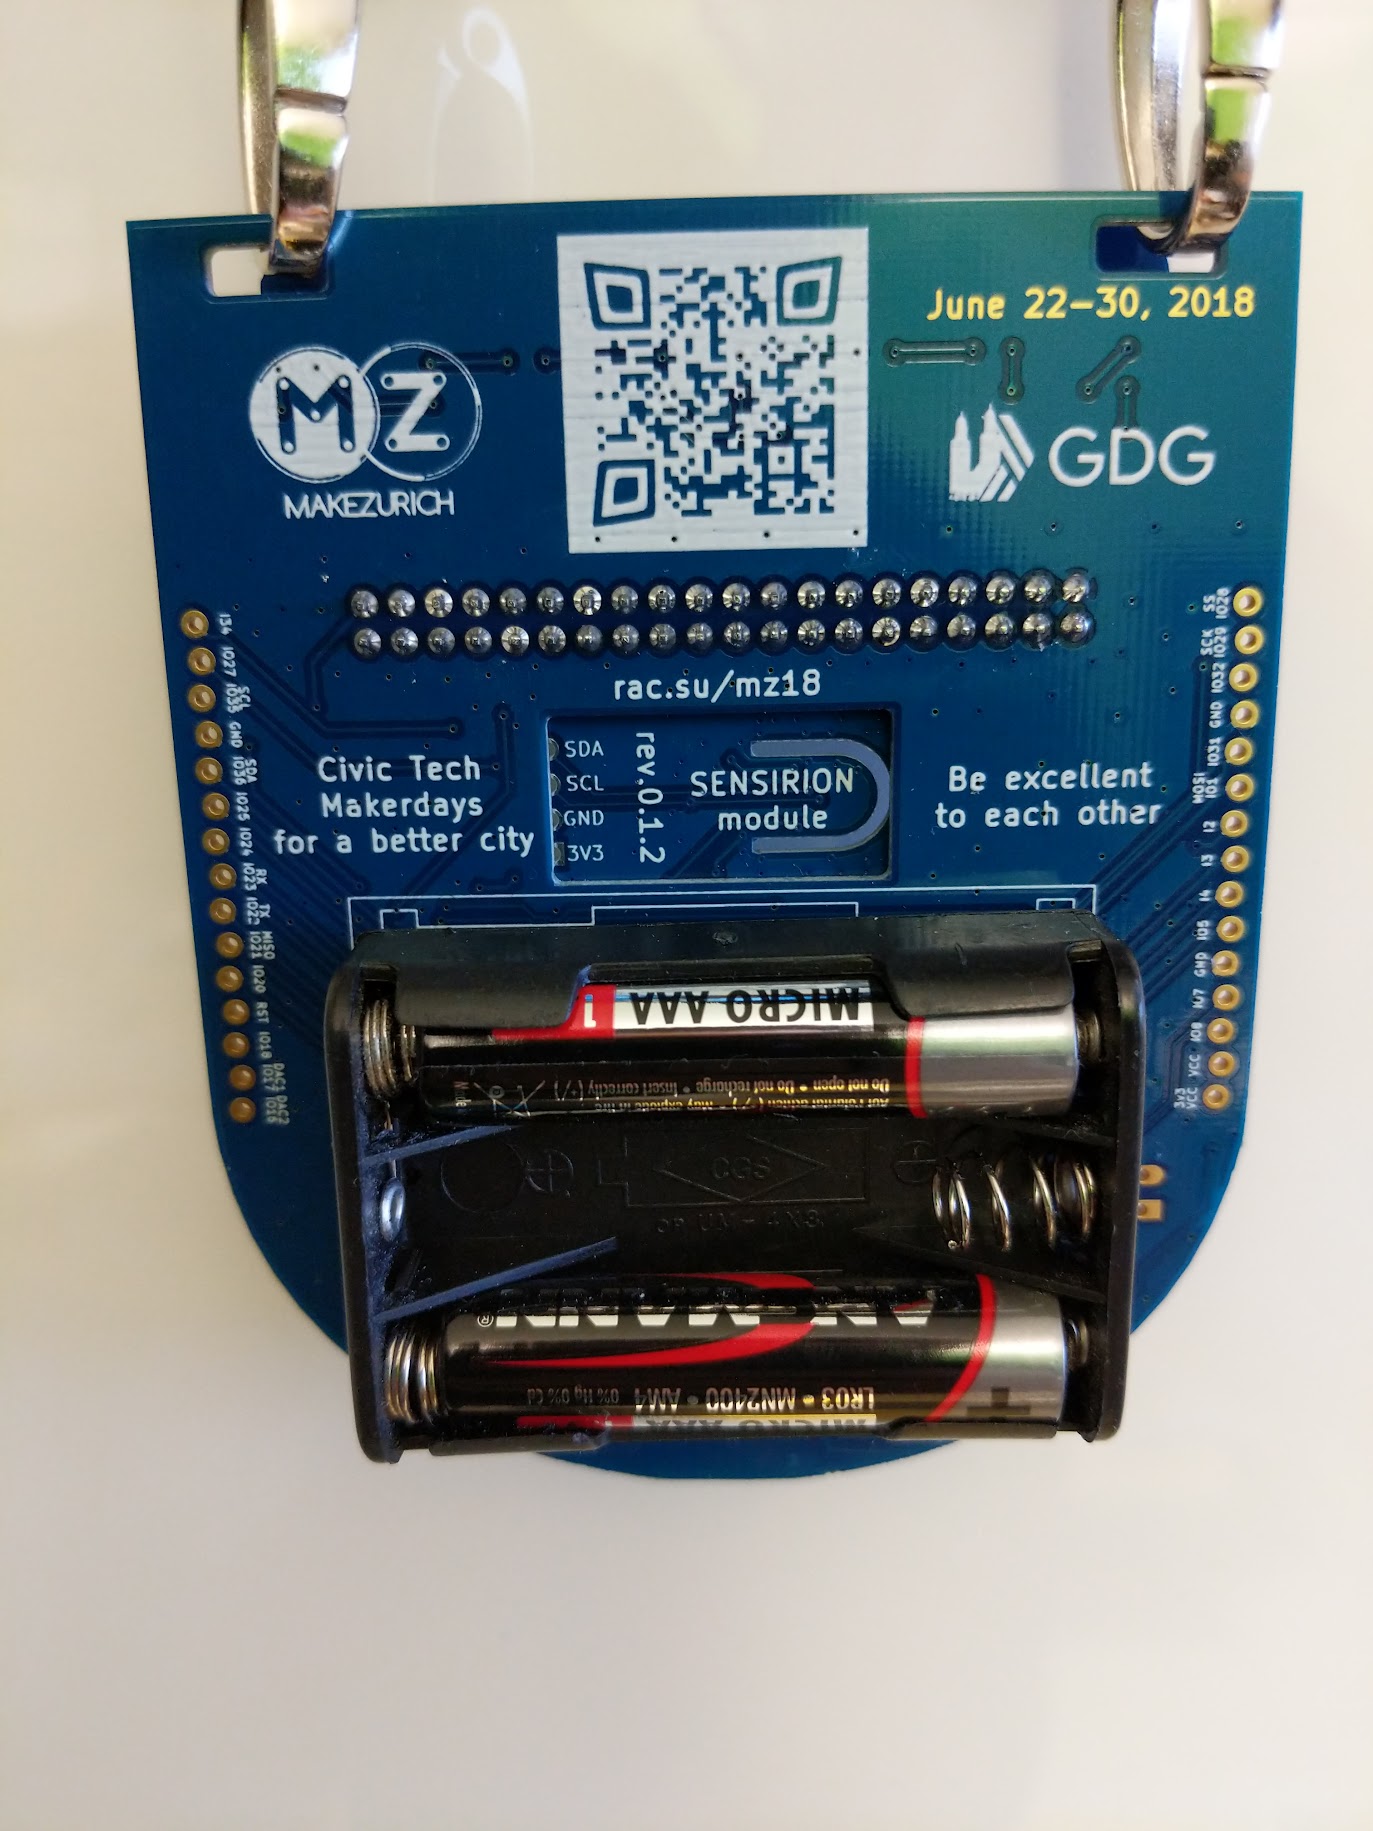
PCB Layout
TBW. but for now, here is a rendering of the backside
![]()
BOM
| Ref | Qty | Value | Digikey | Price |
|---|---|---|---|---|
| XX | X | XXX | XXX | CHF XXX |
Note: TBW. but for now you can see https://github.com/rac2030/IoT-conference-badge/blob/master/hardware/badge-mainboard-BOM-r.0.3.7.html
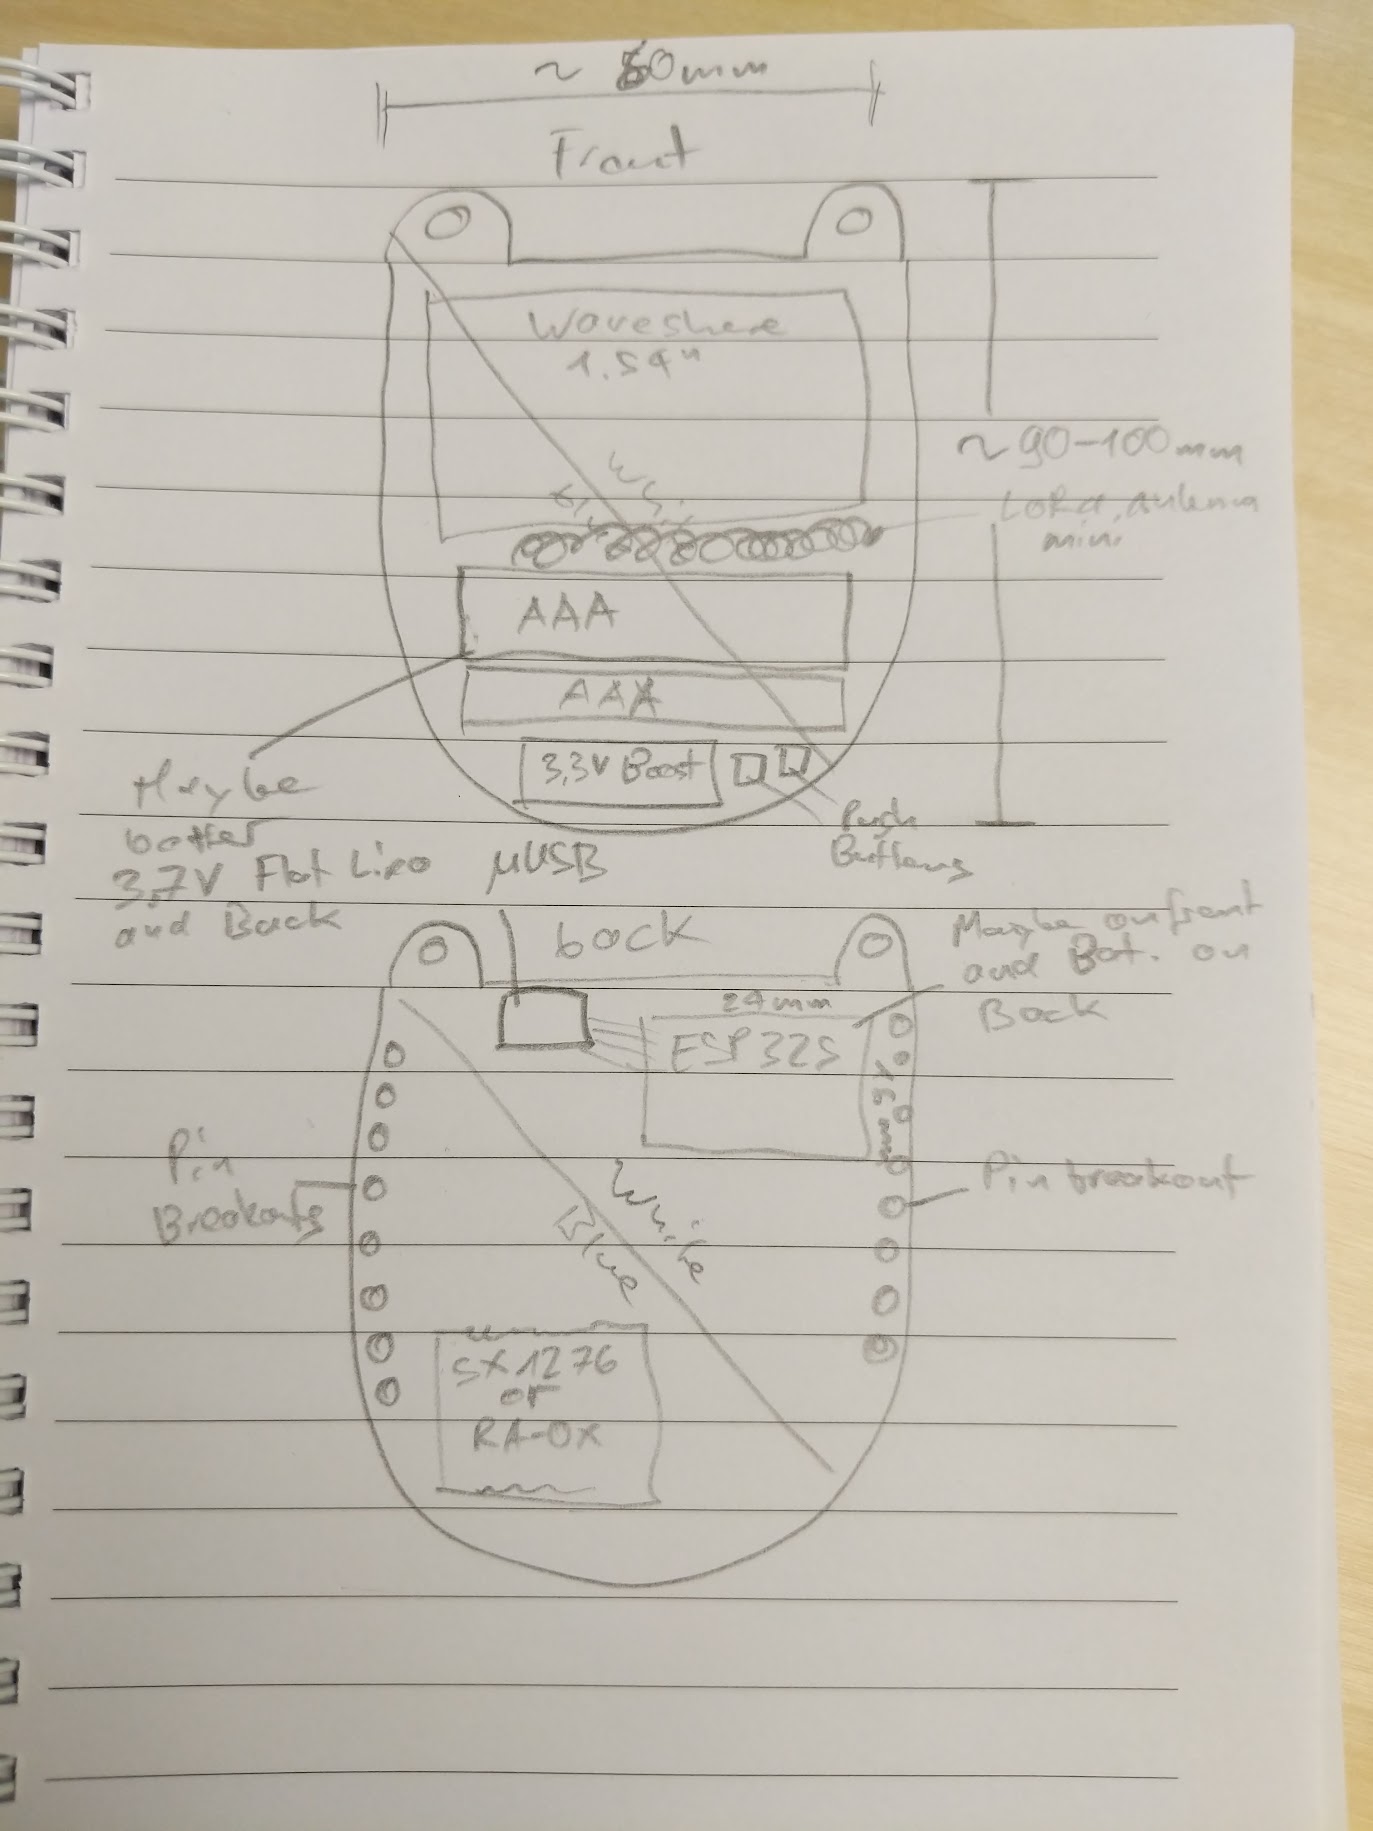
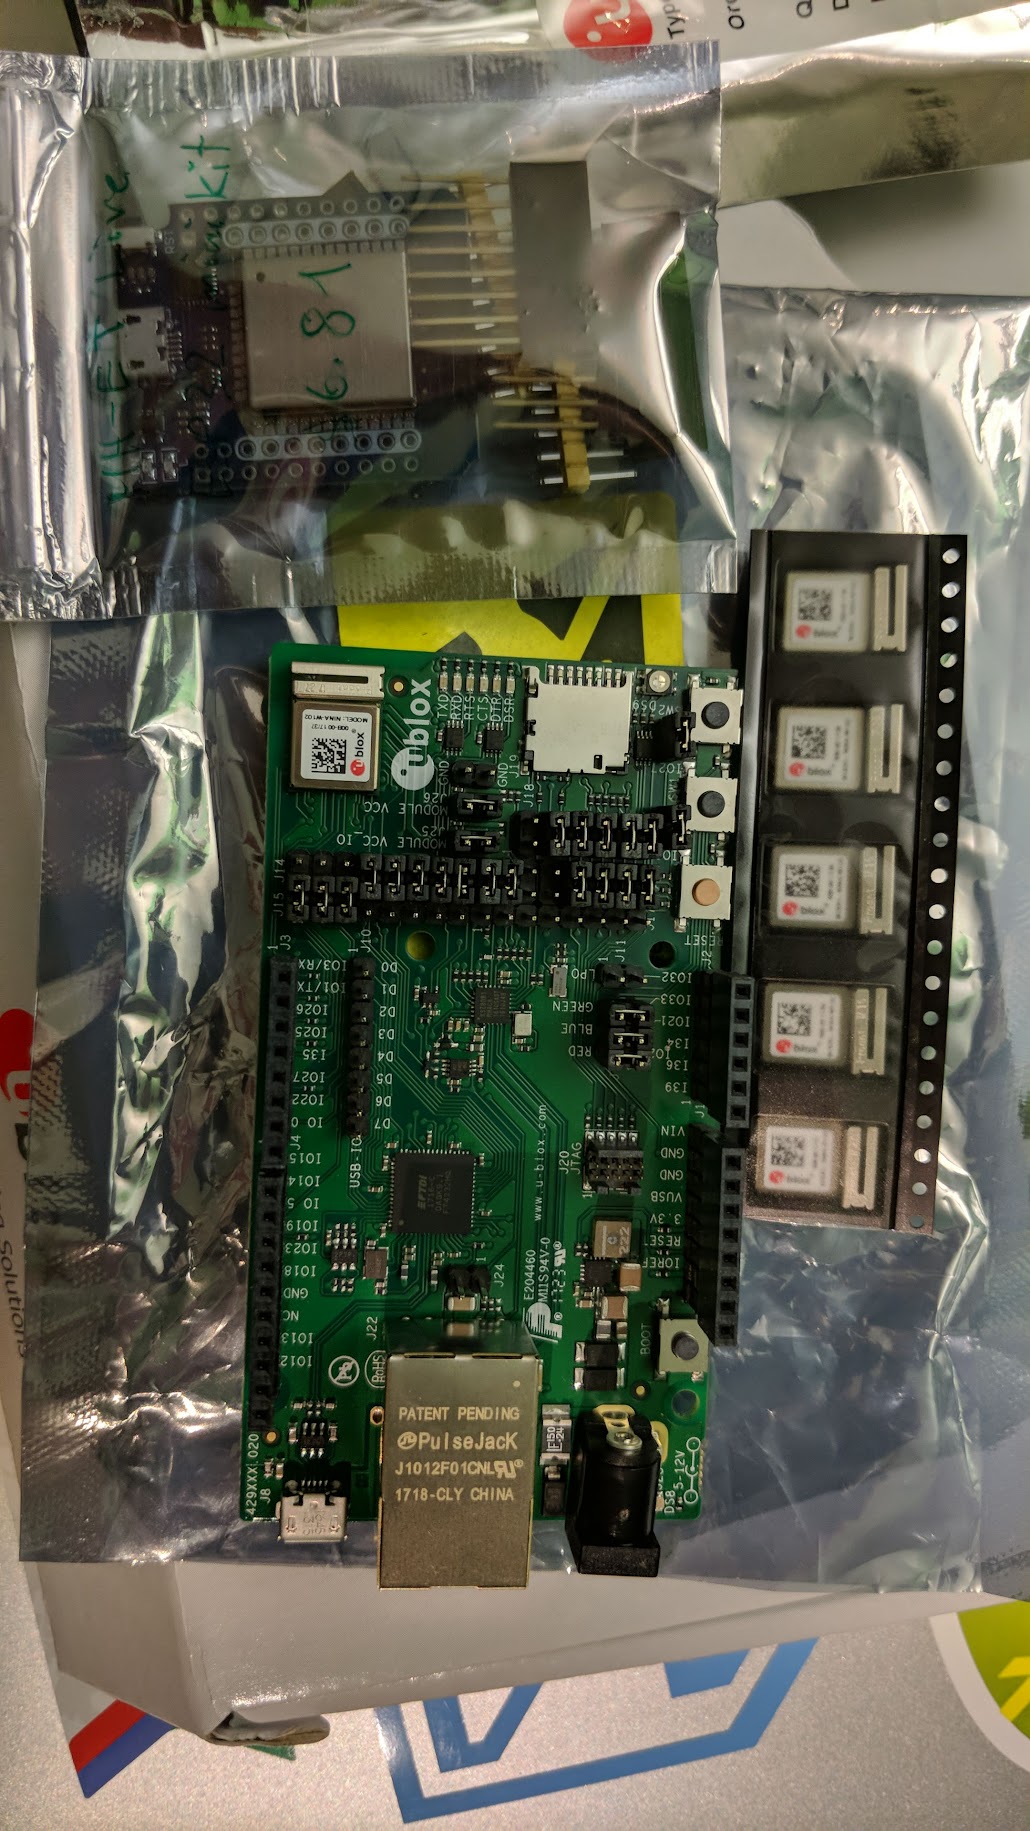
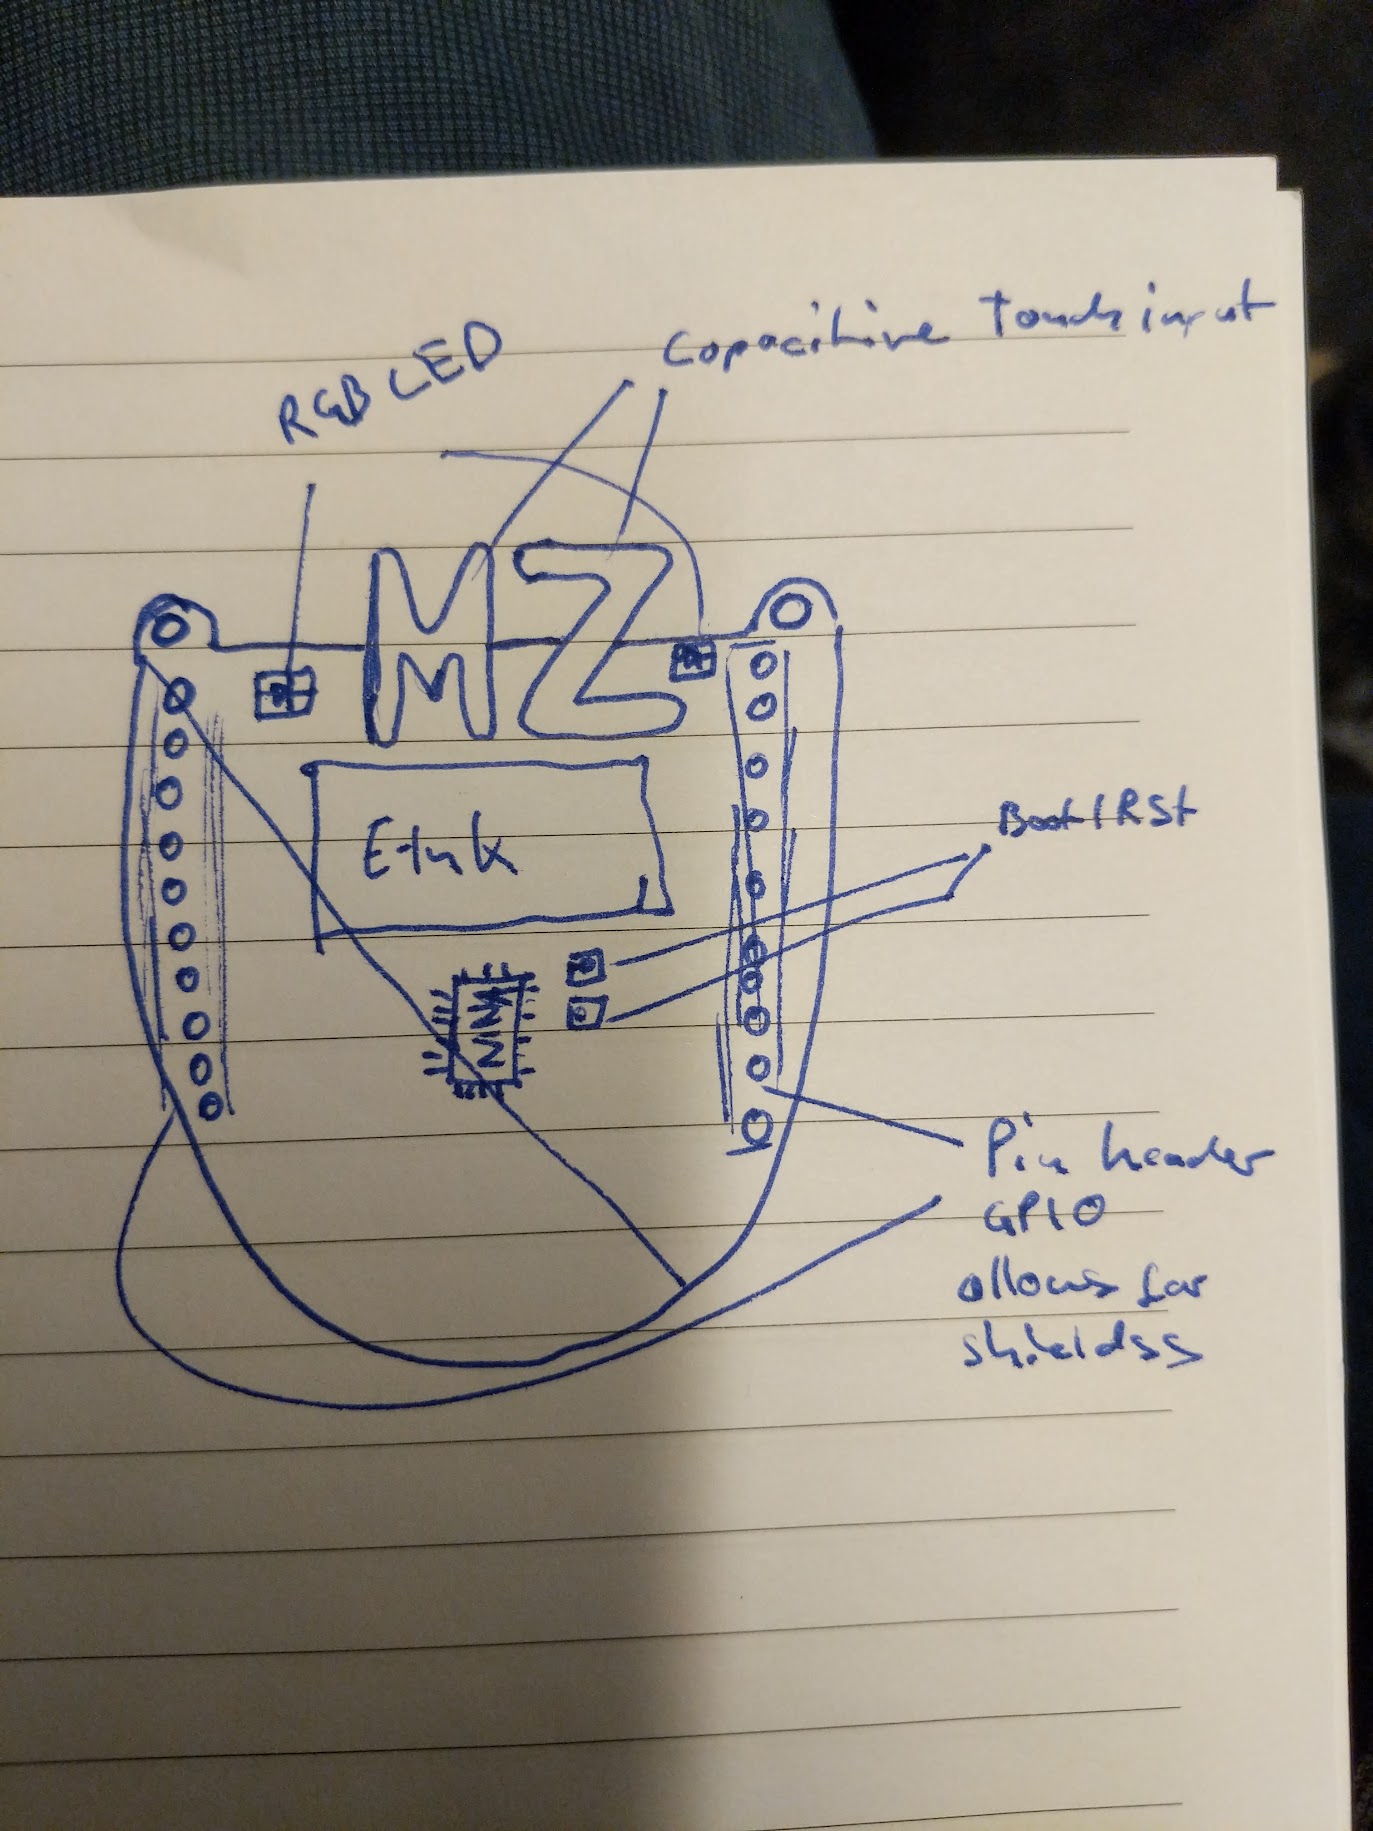
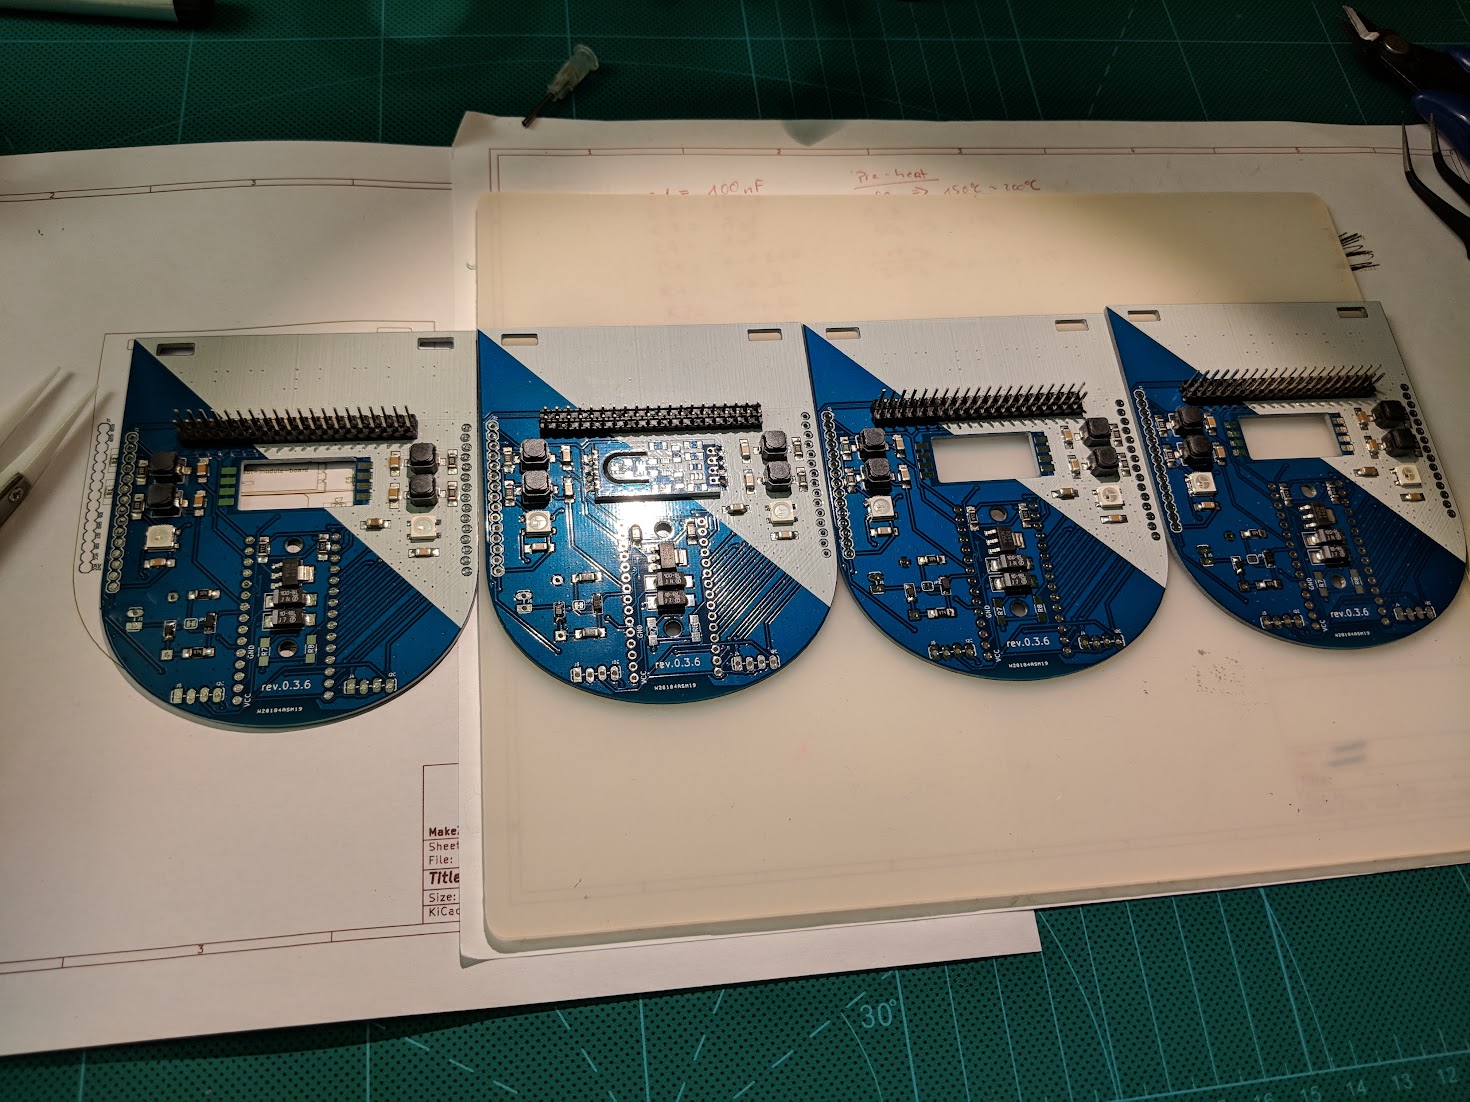
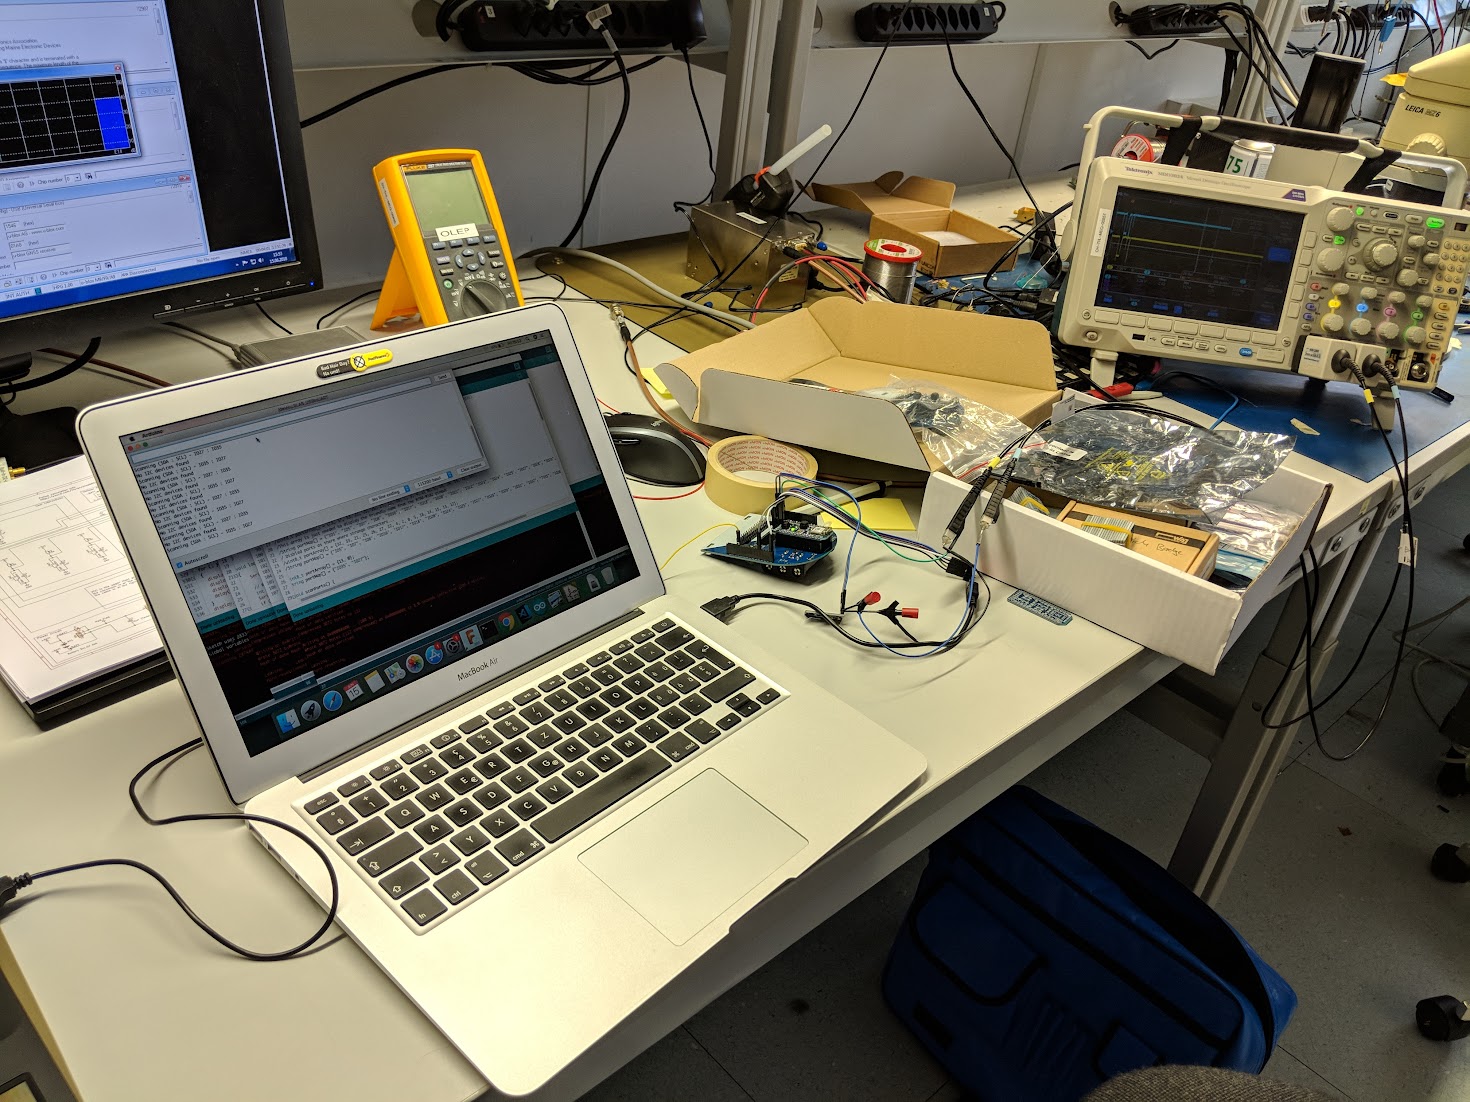
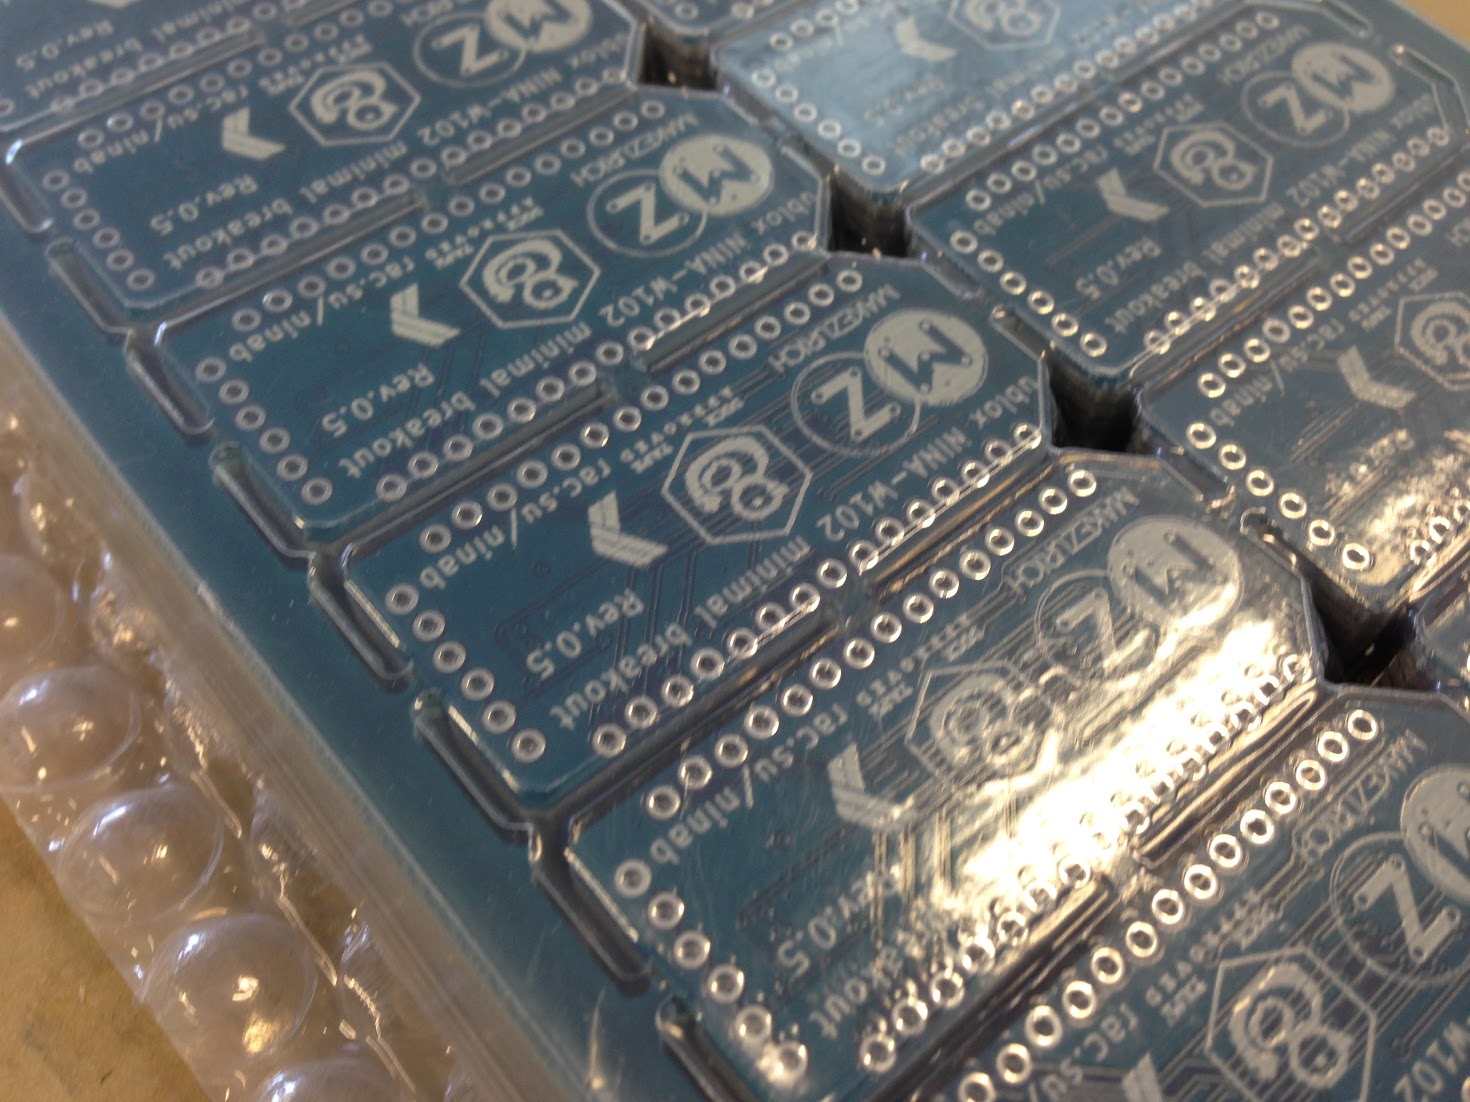
Making of
TBW. but was a fun journey with lots of last minute fixes and deliveries ;-)
For your enjoyment, here are some pictures that where made during the past couple months while going from an idea to the final badge you have now around your neck.


Sources
For now, the Firmware resides in its own branch, this will be merged in to master later. You find it at https://github.com/rac2030/IoT-conference-badge/tree/firmware/firmware where you have the main firmware in the hackathon-kraftwerk folder and a couple of simple example code that has been written during firmware developement under examples. You can use the examples for tryouts or as a starting point.
KiCAD schematic and PCB design sources are available on my github at https://github.com/rac2030/IoT-conference-badge/tree/master/hardware
Team contributions
During the design phase, this board has been reviewed and challanged from various people that are not github commiters. Therefore here I would like to thank all the people who helped going into production:
- Benjamin Marty
- Dirk Zugenmaier
- Gonzalo Casas
- Matthias Schibli
- Michael Ammann
- Oliver Walkhoff
- Tillo Bosshart
- Urs Marti
- Tony Kümin
Note: List is not in a specific order other than taken directly from TTN slack channel mz-badge and I may have forgotten to list someone here, ping me if it’s you.